Call us now 855-960-6020
Submit Your Design for Custom Printed Divider
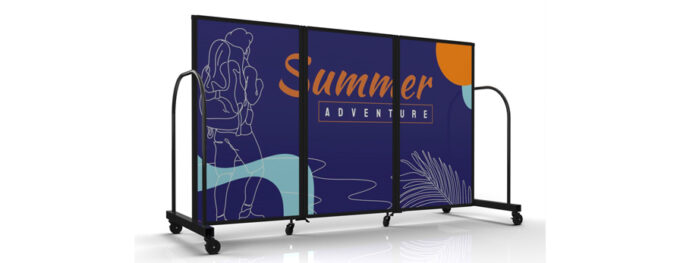
To get started, use the form to upload the image you would like printed on your Custom Print Divider.
Your sales representative will reach out and help set up a design consultation. We offer up to two hours with a graphics designer to ensure your Custom Print Divider is templated appropriately. If the graphics work requires more than 2 hours, the additional time will be billed at $100 per hour, and we will alert you before those additional charges are applied.
If you have an in-house graphics designer who would like to create the design instead, have them follow the instructions below for the best results.
Due to the custom nature of this product our return policy is as follows:
- Orders that are cancelled prior to the completion of the print design incur our standard 20% return fee and are additionally charged the amount of time with our graphic design team ($100/per hour).
- Orders that are approved and printed cannot be returned/cancelled after completion of the printing process.
Thank you for your understanding the return process for this custom printed product!
Designing your own Custom Print Divider Vector:
1) Download a copy of our Custom Print Template that matches the size of room divider you ordered. Choose the width of your room divider:
- Download 8’6″ Wide Templates
- Download 14′ Wide Templates
- Download 19’6″ Wide Templates
- Download 25′ Wide Templates
2) Using the template, apply your artwork in vector format and save as a PDF. *If working with photography we will need to have a minimum of 150 dpi
3) Use the form on this page to submit your PDF vector, with your quote/order #.
Once we have received your artwork in the proper format, we will send over a mockup to show you what your room divider will look like when it is printed. We offer 2 revisions during this process.
*Please note*
All artwork must be vectorized to ensure there is no loss in resolution when it is printed. To create vector in Illustrator, follow the below steps
-
- Open image in Illustrator to select it
- Go to the object drop down menu and select Image Trace -> Make
- Open the image trace menu from the Windows dropdown menu
- Adjust the settings in the image trace menu to your liking
- When you are happy with the image save as a PDF
- Your image is now vectorized and can be placed in the proper template (see step 2 above)
Quick Response